DIY Pool Permit Site Plan: What You Can Draw vs. Need a Pro
Getting a pool permit starts with a site plan, but do you really need to hire a professional to draw it? This guide breaks down exactly what homeowners can handle themselves versus when a licensed engineer or surveyor is required, so you can move forward confidently and avoid costly permit rejections.
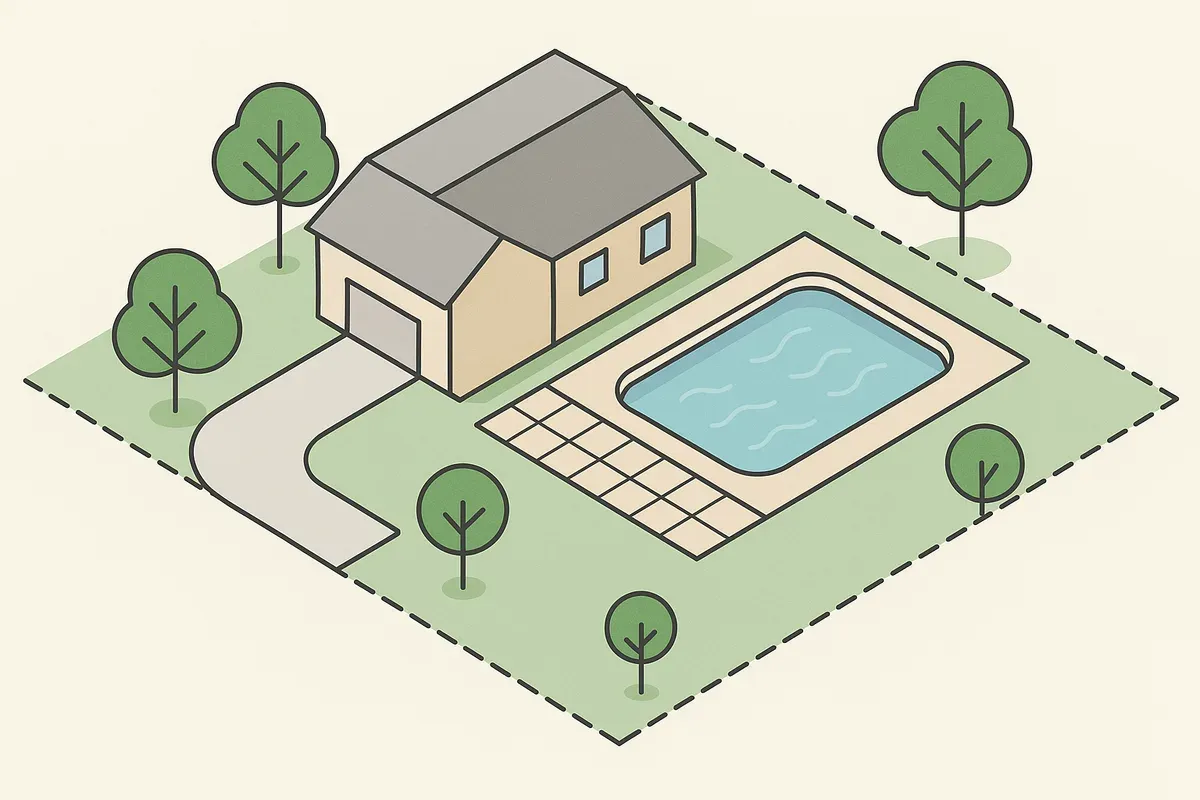
<h2>So You Want to Build a Pool: The Permit Reality Check</h2>
<p>Adding a swimming pool to your property is one of the most exciting home improvement projects you can undertake. It adds value, creates a backyard retreat, and gives your family years of enjoyment. But before a single shovel breaks ground, virtually every municipality in the United States requires you to pull a pool permit, and that permit almost always starts with one critical document: a <strong>site plan</strong>.</p>
<p>Here is where many <a href="/homeowners">homeowners</a> hit their first wall. They assume that drawing a site plan requires hiring an expensive architect, engineer, or land surveyor. Others go the opposite direction and sketch something on graph paper that gets rejected at the permit counter. The truth sits somewhere in the middle, and understanding exactly where that line falls can save you hundreds or even thousands of dollars while keeping your project on schedule.</p>
<p>This guide walks you through every element of a pool permit site plan, what a motivated homeowner can realistically draw using modern tools, and the specific situations where a licensed professional is not just helpful but legally required.</p>
<hr>
<h2>Why a Site Plan Is Required for a Pool Permit</h2>
<p>Before diving into what you can and cannot draw yourself, it helps to understand why permit offices require a site plan in the first place.</p>
<p>A site plan gives your local building department a bird's-eye view of your entire property. It shows exactly where the proposed pool will sit in relation to your property lines, your house, utility lines, easements, and neighboring structures. Without this document, a plan reviewer has no way to verify that your pool:</p>
<ul>
<li>Maintains required <strong>setbacks</strong> from property lines and structures</li>
<li>Avoids underground utility corridors and easements</li>
<li>Complies with local zoning regulations for lot coverage</li>
<li>Does not encroach on drainage swales or flood zones</li>
<li>Meets safety fencing and barrier requirements</li>
</ul>
<p>The <a href="https://www.iccsafe.org/products-and-events/i-codes/international-swimming-pool-and-spa-code/" rel="nofollow noopener" target="_blank">International Swimming Pool and Spa Code (ISPSC)</a>, published by the International Code Council, sets baseline standards that most jurisdictions adopt and modify. Your local municipality may layer additional requirements on top of those standards, which is why checking with your specific permit office is always step one.</p>
<hr>
<h2>What a Pool Permit Site Plan Must Include</h2>
<p>While requirements vary by jurisdiction, most building departments expect to see the following elements on a pool permit site plan. Think of this as your baseline checklist.</p>
<h3>Property Boundaries and Dimensions</h3>
<p>Your site plan must show the full outline of your lot with accurate dimensions on all sides. This is the foundation of the entire document. Every measurement of setback distance, pool placement, and lot coverage calculation depends on knowing exactly where your property lines are.</p>
<h3>The Existing House Footprint</h3>
<p>The drawing must show your home's <strong>building footprint</strong>, meaning the exterior outline of the structure as seen from above. This includes any attached garages, covered patios, or additions. Dimensions should be shown, and the footprint must be accurately positioned relative to the property lines.</p>
<h3>Proposed Pool Location and Dimensions</h3>
<p>This is the core of your application. The pool must be drawn to scale and positioned accurately on the lot. You will need to show:</p>
<ul>
<li>The pool's overall dimensions (length, width, and shape)</li>
<li>The distance from the pool edge to each property line (setback measurements)</li>
<li>The distance from the pool to the house foundation</li>
<li>The location of any proposed pool deck or coping</li>
</ul>
<h3>Setback Annotations</h3>
<p>Most jurisdictions require pools to be set back a minimum distance from property lines, typically ranging from 5 to 15 feet depending on local code. Some areas also require minimum separation between the pool and the house itself. These distances must be clearly labeled on your site plan with dimension lines.</p>
<h3>Easements and Utility Lines</h3>
<p>If your property has recorded easements (utility easements, drainage easements, access easements), they must appear on your site plan. Building a pool over or within an easement is almost always prohibited. Underground utility locations, particularly gas, electric, and sewer lines, should also be noted.</p>
<h3>Fencing and Safety Barriers</h3>
<p>Many jurisdictions require you to show the proposed location of pool safety fencing on your site plan. The <a href="https://www.cpsc.gov/Safety-Education/Safety-Education-Centers/Pool-Safely" rel="nofollow noopener" target="_blank">Consumer Product Safety Commission</a> provides federal guidelines on pool barrier requirements, and most local codes mandate a fence of at least 48 inches in height with a self-closing, self-latching gate.</p>
<h3>North Arrow and Scale</h3>
<p>Every professional site plan includes a north arrow indicating orientation and a stated drawing scale (for example, 1 inch equals 10 feet). These are not optional extras. They allow the plan reviewer to verify distances and confirm that everything is drawn proportionally.</p>
<h3>Lot Coverage Calculation</h3>
<p>Many zoning codes limit the percentage of a lot that can be covered by impervious surfaces (roofs, driveways, patios, pool decks). Your site plan may need to include a simple calculation showing how the proposed pool and deck affect your total lot coverage percentage.</p>
<hr>
<h2>What Homeowners Can Realistically Draw Themselves</h2>
<p>Now for the part most homeowners actually want to know: what can you handle without a professional license?</p>
<p>The good news is that for a straightforward residential pool on a standard lot, a significant portion of the site plan work is within reach for a detail-oriented homeowner. Here is what typically falls into the DIY category.</p>
<h3>Drawing the Property Layout</h3>
<p>If you already have a <strong>property survey</strong> (which most homeowners receive at closing), you have the foundational data you need. Your survey shows the exact dimensions of your lot, the location of your house on the lot, and any recorded easements. You do not need to re-survey your property to draw a site plan. You are essentially reproducing and annotating the information that already exists in your survey documents.</p>
<p>Using a browser-based tool like <a href="/">Site Plan Creator</a>, you can input your lot dimensions, trace your property boundary, and place your house footprint accurately, all without any CAD training. The tool handles scale automatically, so your north arrow and scale bar are generated correctly.</p>
<h3>Placing the Pool and Measuring Setbacks</h3>
<p>Once your property and house are drawn, adding the pool shape is straightforward. You know where you want the pool, you can measure the distances from property lines yourself with a tape measure, and you can annotate those setback dimensions on the plan. This is genuine DIY territory for most standard rectangular, oval, or kidney-shaped pools.</p>
<h3>Adding the Deck, Fencing, and Existing Features</h3>
<p>Showing proposed decking, the fence line, gate locations, existing trees (if required), and the driveway are all elements a homeowner can add without professional help. These are observational and planning elements, not engineered calculations.</p>
<h3>Generating a Clean, Permit-Ready Document</h3>
<p>This is where modern tools make an enormous difference. A hand-drawn sketch, even an accurate one, is increasingly unlikely to be accepted by plan reviewers who expect clean, legible documents. Tools like Site Plan Creator produce professional-quality PDF output with proper title blocks, scale bars, north arrows, and dimension annotations. The difference between a hand-drawn sketch and a clean digital site plan can literally be the difference between permit approval and a correction notice.</p>
<hr>
<h2>When You Absolutely Need a Licensed Professional</h2>
<p>There are specific situations where DIY pool permit documents simply are not sufficient, either because local code requires a licensed stamp or because the complexity of the project demands engineering expertise. Trying to skip professional involvement in these cases will result in permit rejection, and in some instances, legal liability.</p>
<h3>When Your Property Has Not Been Surveyed</h3>
<p>If you do not have a current survey, or if your property has been subdivided, combined, or had boundary disputes, you need a licensed land surveyor before you can draw an accurate site plan. Guessing at property line locations is a serious mistake. A pool built too close to a property line can result in mandatory removal at your expense.</p>
<h3>When Your Lot Is Irregular or Oddly Shaped</h3>
<p>Standard rectangular lots are easy to work with. If your property has multiple angles, curved boundaries, a cul-de-sac frontage, or a flag lot configuration, calculating accurate setbacks becomes significantly more complex. A licensed surveyor or civil engineer can ensure the geometry is handled correctly.</p>
<h3>When Your Property Is in a Flood Zone</h3>
<p>If your lot falls within a FEMA-designated flood zone (you can check using the <a href="https://msc.fema.gov/portal/home" rel="nofollow noopener" target="_blank">FEMA Flood Map Service Center</a>), pool permits become considerably more complicated. You may need elevation certificates, flood zone analysis, and engineering documentation that goes well beyond a standard site plan. This is firmly professional territory.</p>
<h3>When Structural Engineering Is Required</h3>
<p>Some jurisdictions require stamped structural drawings for the pool shell itself, the equipment pad, or <a href="/retaining-wall-site-plans">retaining walls</a> associated with the pool installation. A site plan is separate from structural drawings, but if your permit application requires both, you will need a licensed structural engineer for the structural component.</p>
<h3>When Your Jurisdiction Requires a Licensed Stamp on the Site Plan</h3>
<p>This is the most important question to ask your local building department before you start drawing anything: does the site plan for a residential pool permit require a stamp from a licensed professional? Some jurisdictions, particularly in states with stricter contractor licensing laws, require that any submitted site plan bear the seal of a licensed engineer, architect, or surveyor. Others explicitly allow homeowner-prepared site plans for residential projects.</p>
<p>Call your permit office, ask the question directly, and document the answer. This single phone call will tell you whether DIY is an option at all in your area.</p>
<h3>When Grading and Drainage Plans Are Required</h3>
<p>Adding a pool changes how water moves across your property. Some municipalities require a grading plan showing how drainage will be managed, particularly if you are adding a significant amount of impervious deck surface. Grading plans that need to demonstrate compliance with stormwater management codes typically require a civil engineer.</p>
<hr>
<h2>The DIY Pool Permit Site Plan Process: Step by Step</h2>
<p>Assuming your jurisdiction allows homeowner-prepared site plans and your lot is reasonably straightforward, here is a practical workflow for producing your own pool permit site plan.</p>
<h3>Step 1: Gather Your Source Documents</h3>
<p>Pull together the following before you start drawing:</p>
<ul>
<li>Your property survey or plat map (from your closing documents or county recorder's office)</li>
<li>Your local zoning code's pool <a href="/setback-guide">setback requirements</a></li>
<li>Any HOA guidelines that apply to pool placement</li>
<li>Your pool contractor's proposed pool dimensions and shape</li>
<li>Information on any recorded easements on your property</li>
</ul>
<h3>Step 2: Confirm Requirements with Your Permit Office</h3>
<p>Contact your local building or permit department and ask specifically:</p>
<ol>
<li>What scale is required for the site plan?</li>
<li>Are there specific title block requirements?</li>
<li>Does the plan need a professional stamp?</li>
<li>What setback distances apply to pools in your zoning district?</li>
<li>Are there lot coverage limits that affect your project?</li>
<li>Is a separate grading plan required?</li>
</ol>
<p>Write down the answers or ask for them in writing.</p>
<h3>Step 3: Draw Your Site Plan</h3>
<p>Using a tool like Site Plan Creator, begin with your property boundary, entering the dimensions from your survey. Place your house footprint in the correct position relative to the lot lines. Then add:</p>
<ul>
<li>The proposed pool, sized and positioned accurately</li>
<li>Dimension lines showing all setback distances</li>
<li>The proposed deck area</li>
<li>Fence line and gate locations</li>
<li>Any easements or utility corridors</li>
<li>Existing driveways, sidewalks, and other significant features</li>
<li>A north arrow (typically pointing toward the top of the page)</li>
<li>A scale bar and stated scale</li>
<li>A title block with your name, address, permit application number, and date</li>
</ul>
<h3>Step 4: Calculate Lot Coverage</h3>
<p>If your jurisdiction requires a lot coverage calculation, add up the square footage of all impervious surfaces (house footprint, garage, existing driveway, proposed pool and deck) and divide by the total lot area. Express this as a percentage and note it on your plan or in a separate schedule.</p>
<h3>Step 5: Review and Export</h3>
<p>Before submitting, review your plan against your permit office's checklist. Check every setback measurement twice. Confirm the scale is correct. Make sure your title block is complete. Then export to PDF at the required size (usually 24x36 inches or 11x17 inches, depending on your jurisdiction).</p>
<h3>Step 6: Submit with Your Full Permit Package</h3>
<p>Your site plan is one document in a larger permit package. Pool permit documents typically also include:</p>
<ul>
<li>Completed permit application form</li>
<li>Pool construction drawings (usually provided by your pool contractor or manufacturer)</li>
<li>Electrical plans for pool lighting and equipment</li>
<li>Fencing specifications</li>
<li>Permit fees</li>
</ul>
<p>Organize everything according to your permit office's submission checklist and submit either in person or through your jurisdiction's online portal.</p>
<hr>
<h2>Common Mistakes That Get Pool Site Plans Rejected</h2>
<p>Knowing what to include is only half the battle. Here are the mistakes that most commonly result in correction notices and resubmission delays.</p>
<ul>
<li><strong>Missing setback dimensions.</strong> Drawing the pool in the right location is not enough. You must label the distance from every pool edge to every nearby property line and structure.</li>
<li><strong>Incorrect or missing scale.</strong> A plan without a stated scale, or with a scale that does not match the printed dimensions, will be rejected.</li>
<li><strong>Omitting easements.</strong> Forgetting to show a utility easement, especially if the pool is near it, raises immediate red flags.</li>
<li><strong>Not showing the fence.</strong> If your jurisdiction requires a pool barrier, the site plan must show it, even if it is a simple dashed line around the pool area.</li>
<li><strong>Using outdated property information.</strong> If your survey is from before a significant addition was built, your house footprint may be inaccurate. Use current measurements.</li>
<li><strong>Submitting a hand-drawn sketch.</strong> While some small rural jurisdictions still accept these, most urban and suburban permit offices expect clean, legible digital drawings.</li>
<li><strong>Wrong paper size.</strong> Check whether your jurisdiction requires full-size (24x36) or half-size (11x17) plan sheets. Submitting the wrong size is a surprisingly common source of delays.</li>
</ul>
<hr>
<h2>Cost Comparison: DIY vs. Hiring a Professional</h2>
<p>Understanding the financial stakes helps you make the right call for your situation.</p>
<h3>DIY with a Digital Tool</h3>
<p>Using a browser-based site plan tool, a homeowner can typically produce a permit-ready <a href="/pool-site-plans">pool site plan</a> for a fraction of the cost of hiring a professional. Most online tools charge a one-time plan fee or a modest subscription, making the DIY route accessible for straightforward projects.</p>
<h3>Hiring a Drafting Service</h3>
<p>For homeowners who want professional-quality output but do not need a licensed stamp, drafting services can produce site plans for roughly $150 to $500 depending on complexity and turnaround time.</p>
<h3>Hiring a Licensed Surveyor or Engineer</h3>
<p>When a professional stamp is required, expect to pay $500 to $2,000 or more for a licensed surveyor or civil engineer to prepare and stamp a site plan. For flood zone properties or complex lots, costs can go higher.</p>
<p>The key insight: if your jurisdiction allows homeowner-prepared site plans and your lot is standard, the DIY route with a quality digital tool delivers permit-ready results at a fraction of professional rates.</p>
<hr>
<h2>How Site Plan Creator Simplifies the Process</h2>
<p>Site Plan Creator was built specifically for situations like this. It is a browser-based, CAD-style application that does not require any design background or software installation. Homeowners can:</p>
<ul>
<li>Input lot dimensions directly from their survey</li>
<li>Place structures, pools, decks, and fencing using intuitive drawing tools</li>
<li>Automatically generate dimension annotations and setback labels</li>
<li>Add a professional title block with project details</li>
<li>Export permit-ready PDFs at the correct scale</li>
</ul>
<p>The result is a clean, professional document that meets the visual standards of modern permit offices, without the cost of hiring a drafter or the frustration of learning complex CAD software. For a standard residential pool permit, most homeowners can complete their site plan in an afternoon.</p>
<hr>
<h2>Conclusion: Know Your Limits, Then Draw With Confidence</h2>
<p>The question of whether to DIY your pool permit site plan is not a binary choice between doing everything yourself and hiring an expensive professional for every task. It is about understanding exactly which elements require licensed expertise and which ones a detail-oriented homeowner can handle with the right tools.</p>
<p>For most standard residential pools on surveyed lots in jurisdictions that allow homeowner-prepared plans, the DIY route is not just possible. It is practical, affordable, and increasingly the norm. The key is doing your homework first: confirm requirements with your permit office, gather your survey documents, understand your setbacks, and use a tool that produces professional-quality output.</p>
<p>When professional involvement is genuinely required, such as for flood zone properties, unsurveyed lots, or jurisdictions that mandate a licensed stamp, investing in that expertise protects your project and your investment.</p>
<p>Ready to get started? Visit <a href="https://www.siteplancreator.com">Site Plan Creator</a> and see how quickly you can go from blank canvas to a permit-ready pool site plan. Your backyard project is closer than you think.</p>