How to Make a Site Plan (Step-by-Step, 2026)
A site plan is a measured overhead drawing of a property. This seven-step guide explains how to find boundaries, set a scale, draw existing and proposed work, mark setbacks, and finish a clear permit drawing.
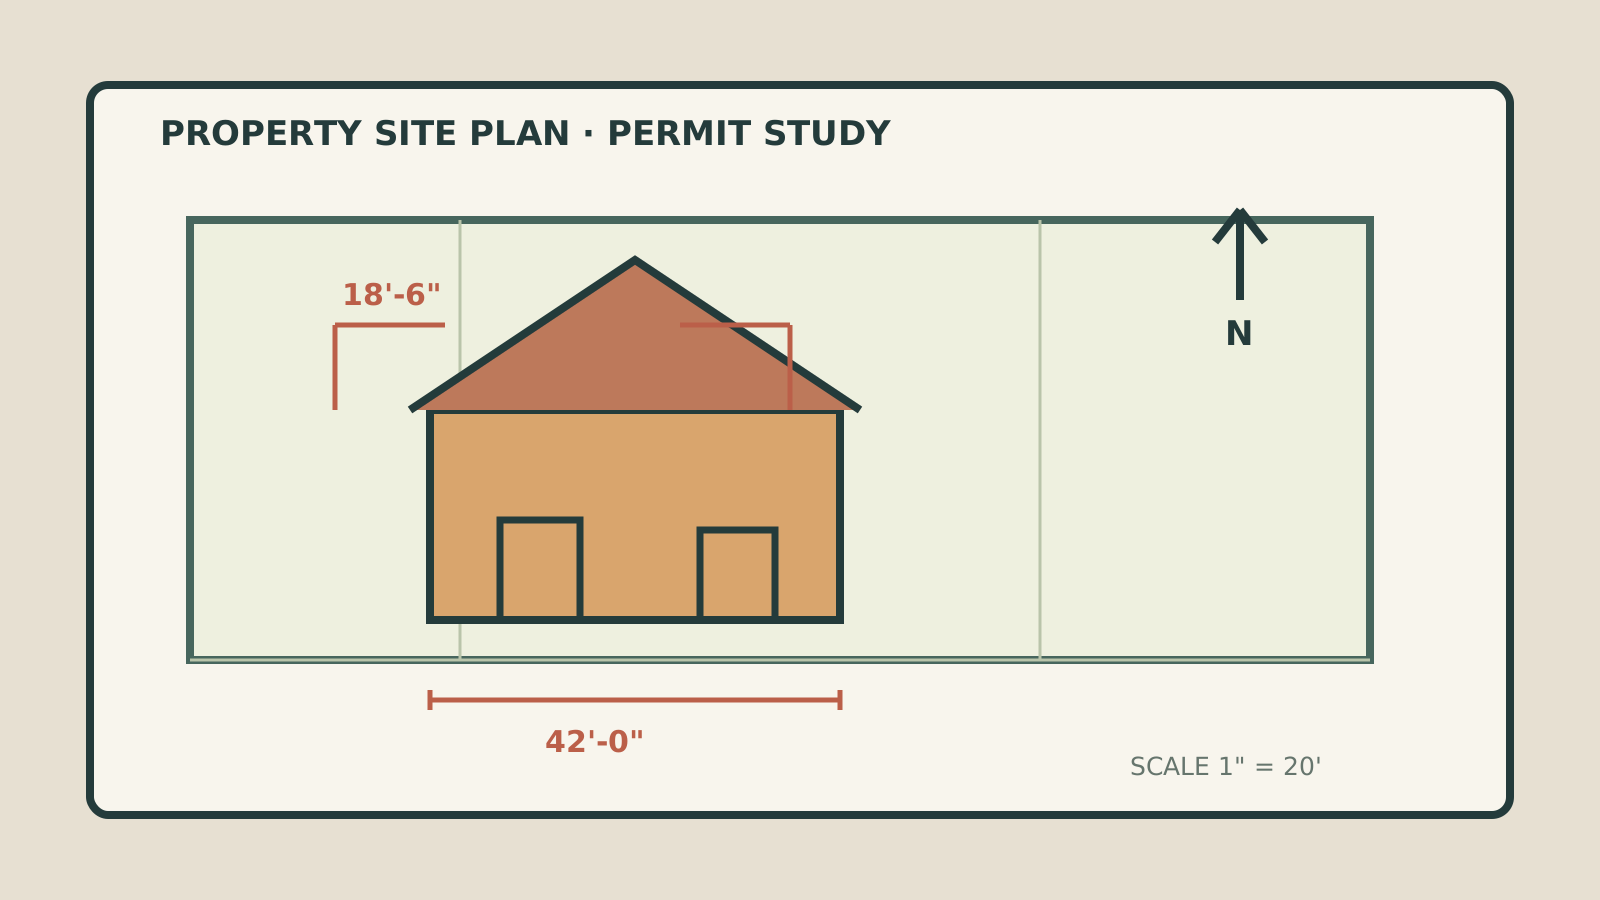
How do you make a site plan?
To make a site plan, find the property boundaries, choose a consistent scale, draw the lot, add existing structures, show the proposed work, mark setbacks and dimensions, then finish with a north arrow, legend, and title block. Compare the result with the local permit checklist before submitting it.
Prepare the facts before the lines
Collect the best available property record, site measurements and permit checklist. Aerial imagery and parcel maps provide context, not a legal boundary certification. Confirm survey, setback and easement requirements locally.
Your required-elements checklist
- Property boundary, frontage and north arrow
- Existing and proposed features with labels
- Scale, dimensions, setbacks and easements where relevant
- Address, date and project title
Step 1: Find your property boundaries
Start with an existing survey, county GIS parcel viewer, assessor map, or deed exhibit. Compare records with visible conditions and treat web parcel lines as planning information, not a legal boundary certification.
What to do
- Save the address, parcel reference, zoning district, and permit checklist in one project note.
- Separate measured facts from estimates; mark anything you still need to verify.
- Ask the department about survey, grading, or professional-signature requirements before drawing.
Common mistake: relying on Google Maps or a parcel overlay as though it were a licensed boundary survey.
Step 2: Establish your scale
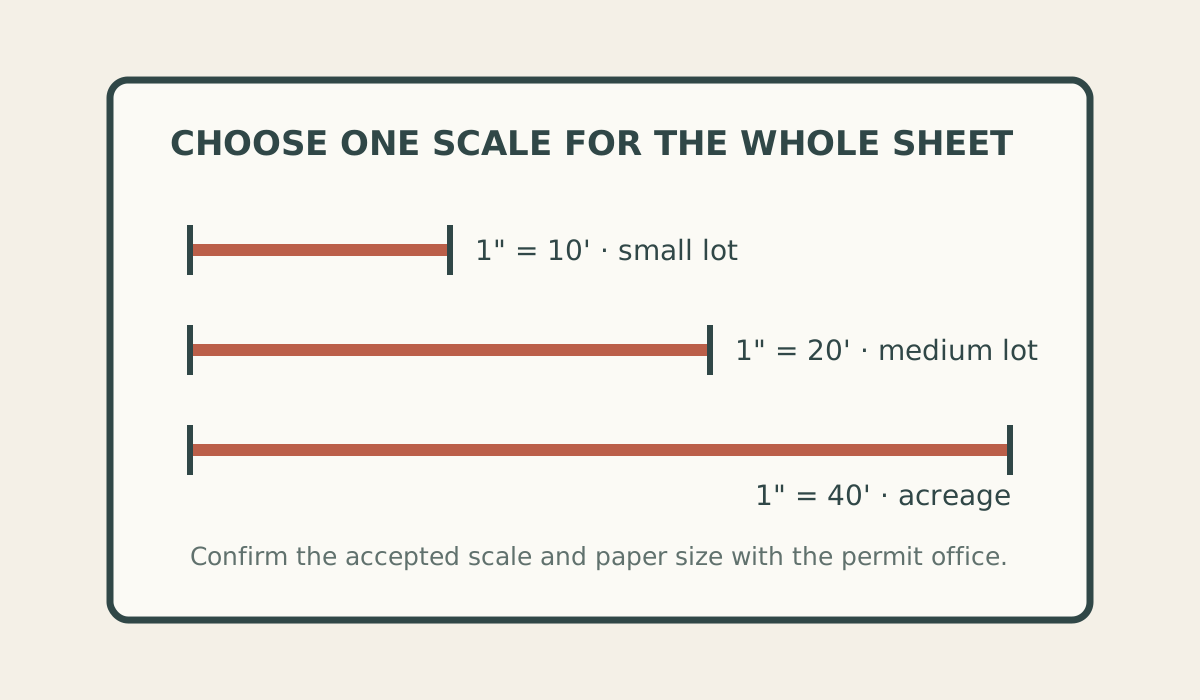
Choose one scale that fits the entire lot and leaves room for dimensions and notes. Small lots may fit at 1 inch equals 10 feet, medium lots at 1 inch equals 20 feet, and acreage at 1 inch equals 40 feet, but use the scale your office accepts.
What to do
- Choose the sheet size before selecting the scale.
- Use one scale for every feature and dimension.
- Include a graphic scale so a resized print can be checked.
Common mistake: changing scale between features or choosing one that leaves no room for readable notes.
Step 3: Draw the lot outline
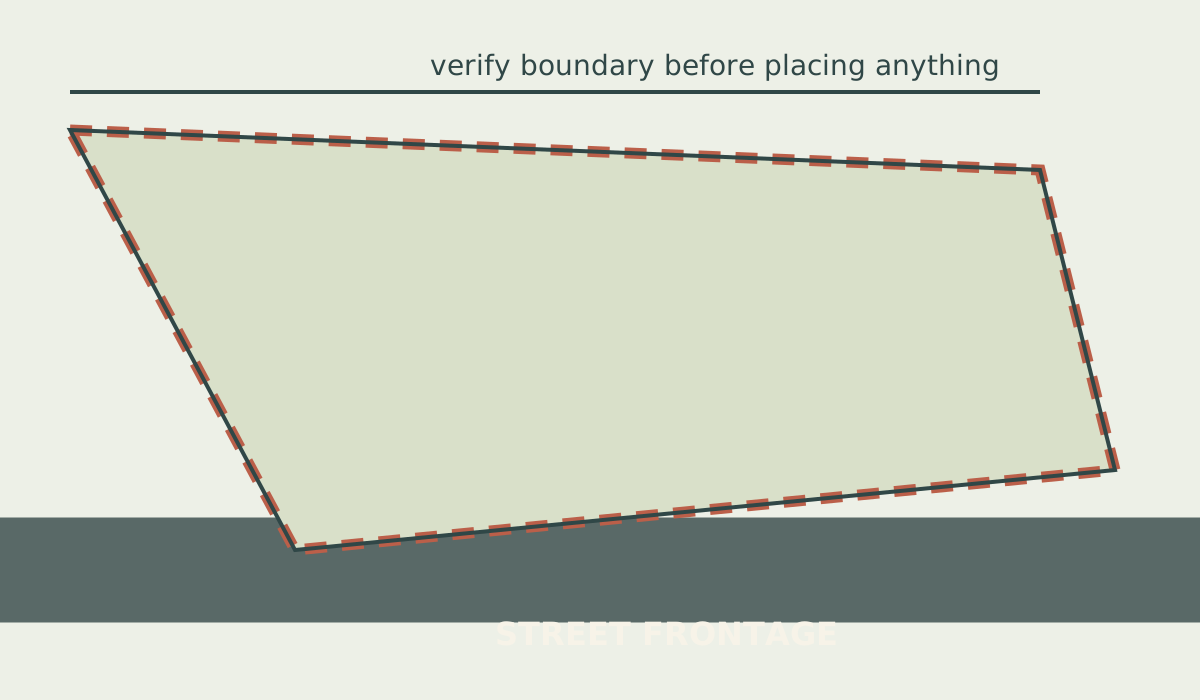
Start at a known corner and draw every boundary segment in order. Label known lengths and bearings from your source, identify the street-facing edge, and do not substitute a curb, fence, or hedge for the property line.
What to do
- Identify the street-facing edge and draw every corner in order.
- Use the parcel record as a starting point, not a substitute for a survey.
- Label known boundary lengths and bearings from the accepted source.
Common mistake: tracing a fence or curb as if it were the legal property line.
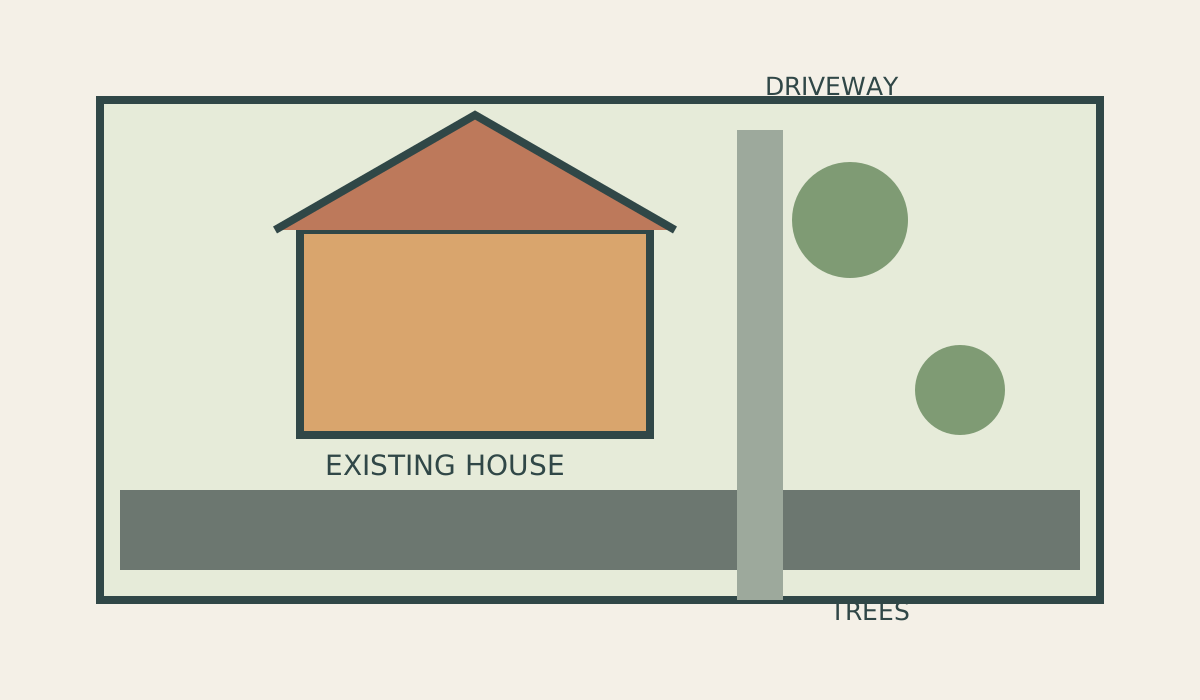
Step 4: Add existing structures and features
Add the house, garage, driveway, walks, trees, wells, septic elements, utilities, and other features that affect access or review. Label existing features plainly.
What to do
- Place the main house first, then garage, driveway, walks, and fixed utilities.
- Use a consistent convention: solid and muted for existing; a contrasting style for proposed.
- Label features that affect access, fire separation, drainage, or setbacks.
Common mistake: showing only the new work and leaving out the existing feature that explains access or a setback.
Step 5: Add proposed changes
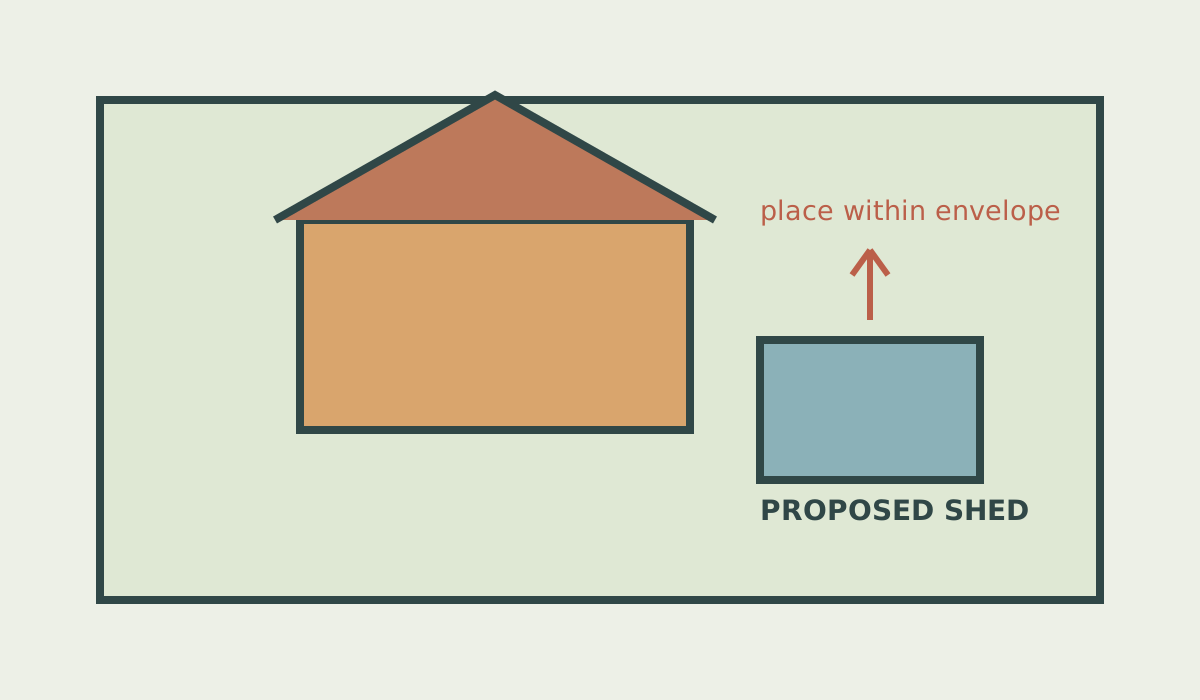
Draw the new shed, deck, fence, pool, addition, or other work as a distinct proposed element. Include its outside dimensions and describe what it is.
What to do
- Draw the complete outside footprint, including stairs, roof projections, or equipment when applicable.
- Label the use and note whether it is attached, detached, covered, or open.
- Show access to the project; a reviewer should not have to infer how it is reached.
Common mistake: drawing a generic rectangle without dimensions, label, or connection to the house.
Step 6: Mark setbacks, easements, and dimensions
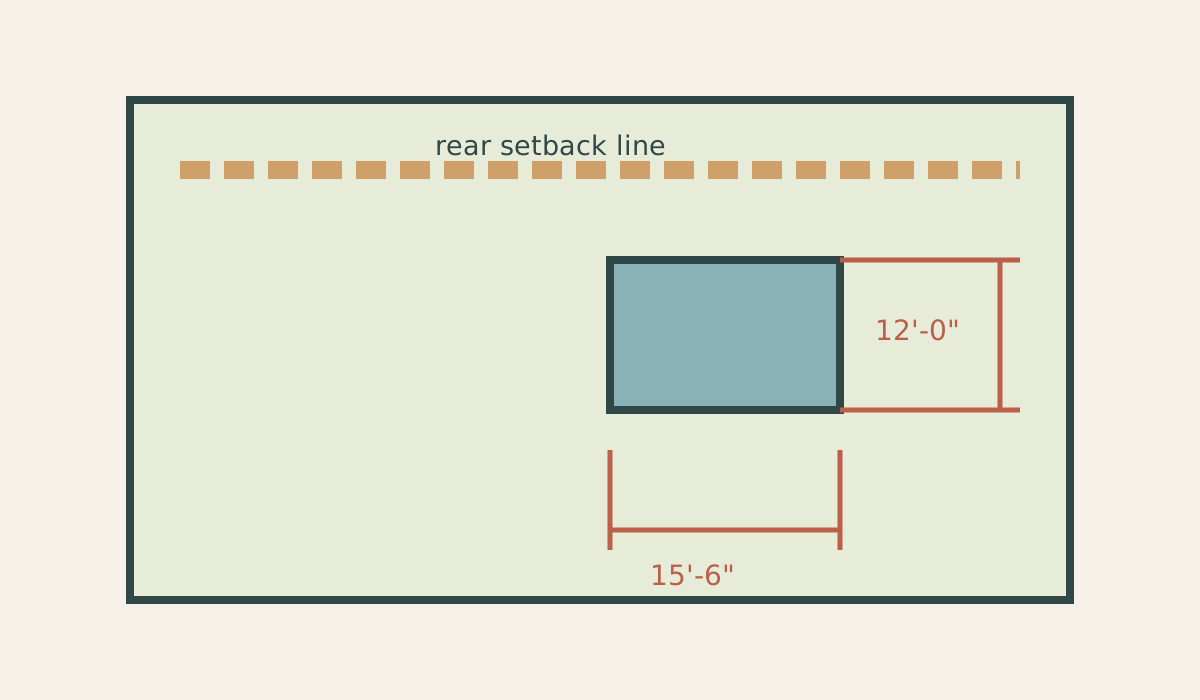
Dimension from the project to the relevant property lines. Add the required building envelope, easements, and distances the reviewer needs to check, using locally confirmed standards.
What to do
- Dimension from the nearest relevant face of the proposal to each property line.
- Show the setback envelope or easement as a line with a plain-language label.
- Use the same units throughout and recheck arithmetic before export.
Common mistake: measuring to a hedge, curb, or centerline instead of the line required by the code.
Step 7: Add the title block, north arrow, and legend
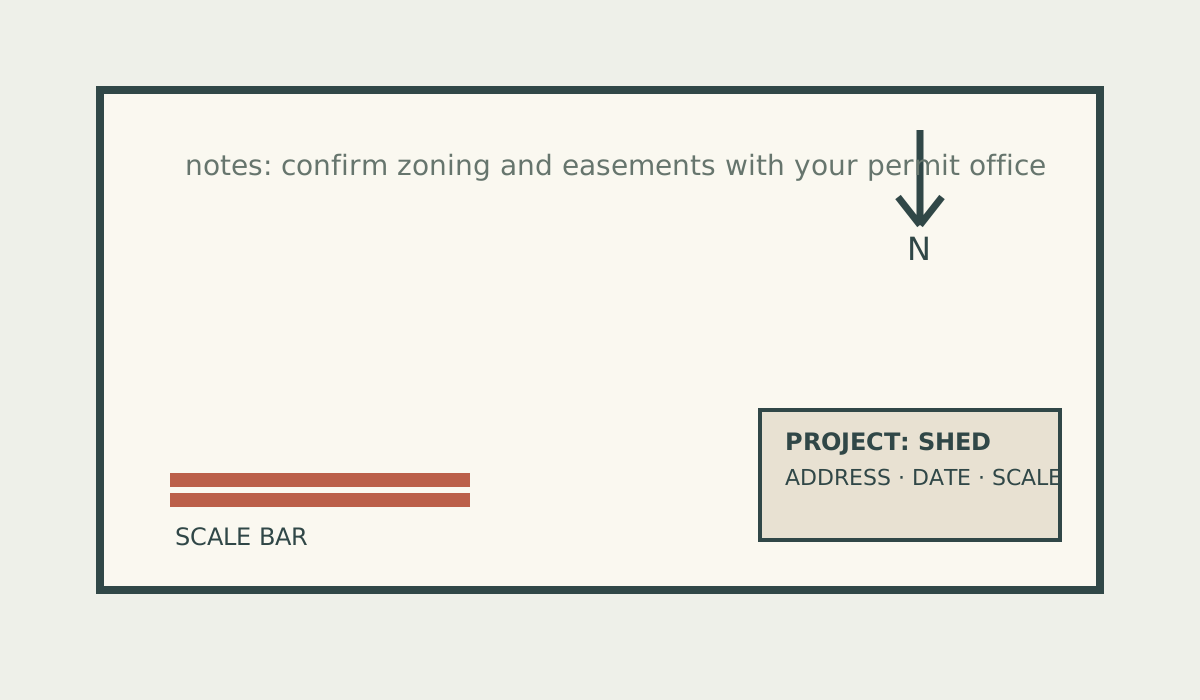
Finish the sheet with orientation and context: north arrow, written and graphic scale, title block, address, date, drafter, notes, and a legend for any symbols or line types.
What to do
- Add a north arrow that matches the plan orientation.
- Write the scale, address, date, drafter, and project title where they will survive printing.
- Use a legend for symbols and line types, then compare the sheet with the permit checklist.
Common mistake: adding a north arrow, scale, or legend that does not match the exported sheet.
Free printable site plan worksheet
Download the US Letter worksheet, print at 100%, and sketch your lot in the blank drawing area. It includes address, project, scale, north, source, and local-checklist fields. Set and verify your own scale before drawing; the grid is not pre-scaled. This is a drafting aid, not a survey or a guaranteed permit form.
Download the printable worksheet (SVG)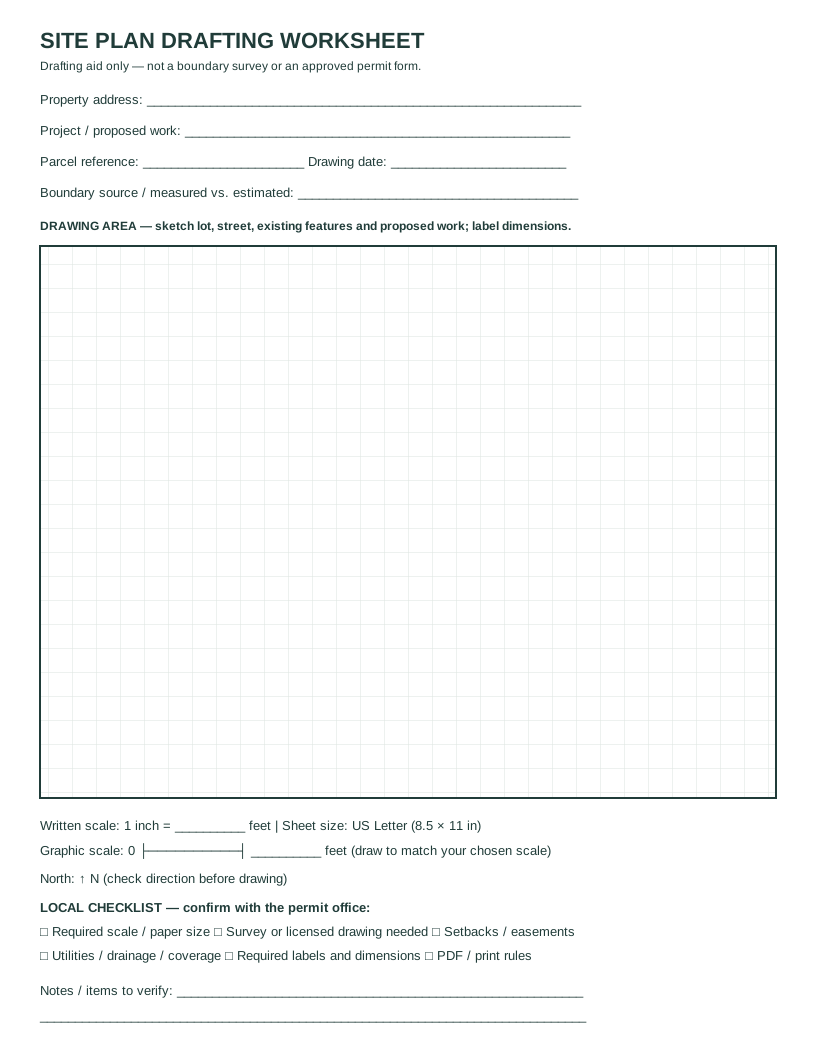
Choose a readable scale
Choose the paper size first, then estimate the longest lot dimension on the sheet. At 1 inch = 20 feet, a 100-foot side occupies 5 inches. Leave space for labels and a title block. These are examples, not a rule based on acreage: ask your local office about accepted sheet sizes and scales, and check the graphic scale after printing or resizing.
- 1 inch = 10 feet: 100 feet takes 10 inches.
- 1 inch = 20 feet: 100 feet takes 5 inches.
- 1 inch = 40 feet: 100 feet takes 2.5 inches. Small features may be harder to read.
Common symbols and line types
Use a legend on your own sheet; conventions vary by office. Label each line so it remains understandable in grayscale.
- Solid, labeled outline: property boundary from the best available record, not a survey certification.
- Dashed line: possible setback or easement boundary; label its source and confirmed width.
- Muted solid footprint: existing building. Contrasting hatch or outline: proposed work.
- Arrow marked N: north direction. Dimension line with end ticks: measured distance between named features.
Site plan vs. plot plan vs. survey
A site plan shows how existing and proposed features relate to a parcel. Some offices call a similar submittal a plot plan; the required details depend on that office's checklist. A boundary survey, by contrast, is professional measurement of property boundaries under local rules. Neither this worksheet nor a parcel-map trace becomes a survey simply by adding dimensions.
- Site plan: layout and project placement for planning or review.
- Plot plan: often the local name for a site plan; confirm the office's definition.
- Survey: professionally measured boundary information where required.
See what a site plan includes and state requirements, then confirm the local permit office’s rules.
Hand drawing, CAD, or Site Plan Creator?
- Hand drawing works for an early sketch or a submission when the office accepts it. Use a grid and ruler, but check print scale and dimensions after each revision.
- CAD offers precise drafting and detailed controls if you know the software; you still need reliable boundary information and the local submission checklist.
- Site Plan Creator loads address-based property context and offers editable drawing tools. Start in the editor as a guest; verify parcel lines, setbacks, and easements independently. Export options and access depend on the plan you choose. No drawing tool guarantees permit acceptance.
For a shed, see our shed site plan guide; for fences and decks, see fence and deck plans. Check how setbacks work before placing proposed work.
Open Site Plan Creator’s editorRead a completed example
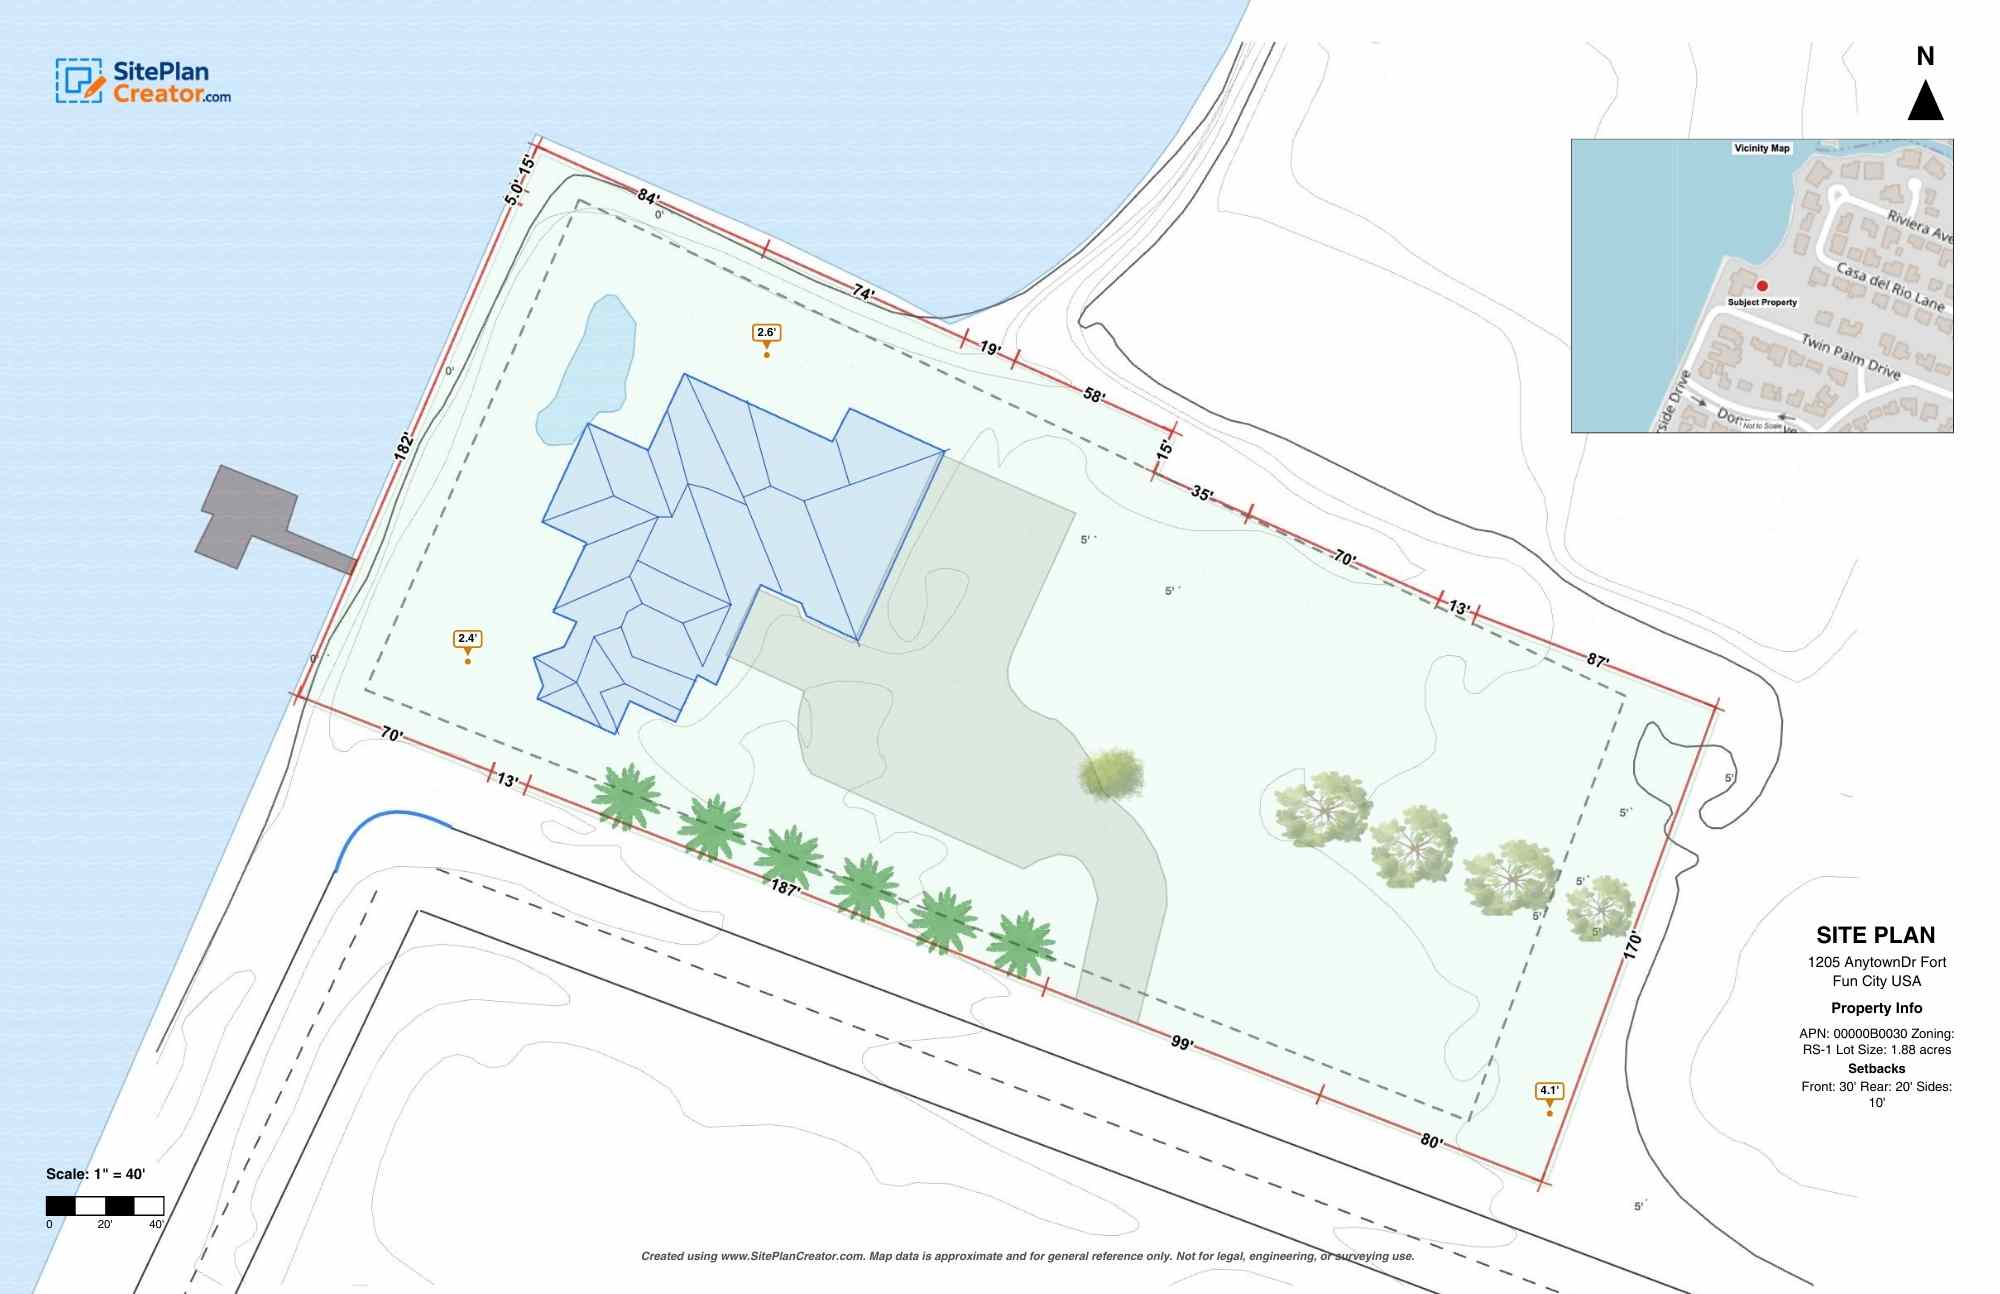
This finished waterfront residential plan was made with Site Plan Creator. It shows the property boundary, building footprint, setback lines, dimensions, vicinity map, north arrow, and scale together on one sheet. It is an example of an export, not evidence of permit approval; check the requirements for your own property.
Six common reasons site plans come back
- No dimensions
- Wrong reference line
- Missing existing context
- No orientation or scale
- Proposed work is ambiguous
- Unverified assumptions
Frequently asked questions
Can I make a site plan myself?
Often, yes, for a straightforward residential permit. A useful DIY plan clearly shows the property context, existing and proposed work, dimensions, scale, and notes. Some jurisdictions require a licensed surveyor, engineer, or architect for particular sites or projects, so confirm before relying on a self-prepared drawing.
What is the easiest way to create a site plan?
For a simple project, begin with reliable parcel information and use a browser-based drawing tool or a scaled grid. Place the lot and existing features first, then the proposal, dimensions, setbacks, and permit notes. The easiest method is the one that lets you check scale and revise without losing clarity.
Is a site plan the same as a survey?
No. A survey is a professional measurement and legal record prepared under rules that vary by jurisdiction. A site plan is a drawing of how a property is arranged and how proposed work relates to it. A site plan may use survey information, but it is not automatically a substitute for a survey.
What must be shown on a residential site plan?
Typical plans show property lines, street frontage, north arrow, scale, existing structures, the proposed project, dimensions to relevant lines, setbacks, access, and a title block. Your permit checklist may also call for utilities, easements, trees, grading, drainage, parking, or neighboring context.
How accurate does a site plan need to be?
It needs to be accurate enough for a reviewer to understand location and verify the stated dimensions. Parcel imagery can help with context, but it should not be treated as a boundary survey. Use known measurements, disclose assumptions, and verify unusual conditions with the permit office.
Do I need a site plan for a shed or fence?
Many departments ask for one, even for a small project. Requirements depend on size, height, location, zoning, and local exemptions. A fence may need height and sight-line information; a shed may need setbacks, separation, utility-easement, and lot-coverage information.
What scale should a site plan use?
Use a scale that keeps the whole lot readable while leaving room for dimensions and notes. Common residential scales include 1 inch equals 10, 20, or 30 feet, but the department may specify a scale or paper size. Always write the scale on the sheet and include a graphic scale when possible.
Will a clear site plan guarantee permit approval?
No. A clear drawing can reduce avoidable questions, but approval depends on the complete application, current code, property conditions, agency review, and sometimes professional certifications. Treat this guide as preparation, not a promise of acceptance.